Transgenic mice have grown to be (pun intended) an important tool in biomedical research. Prior to starting an experiment using these genetically modified animals, however, it is pertinent to first correctly identify their genotype. It is essential for planning the next set of experiments for the next few weeks.
As always, different laboratories use their own version of protocols. In this article, I will share my experiences on the 5 steps for mouse genotyping and some troubleshooting tips.
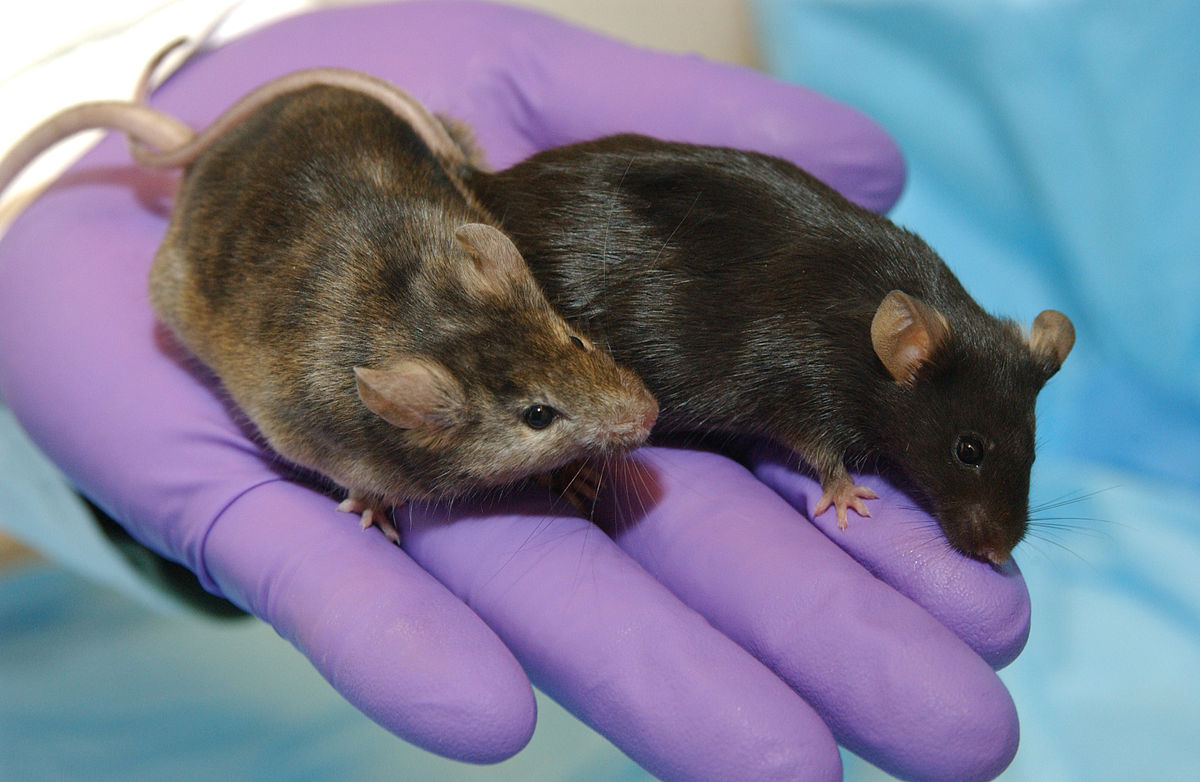
Image credit: Wikimedia Commons
1. Breeding
If you are breeding the animals, it is better to have the pups genotyped before weaning at 21 days. Generally, I prefer days 15 through 18 for tissue collection in order to have the genotyping results ready before weaning. By two weeks, pups are slightly bigger and tail snipping / ear puncturing will be convenient. I am proposing that window to accommodate weekends (so your boss won’t ask you to come over on your precious day off!).
2. Ear Tagging Vs Notching/ Puncturing
Ear notching/puncturing is not generally practical when you have more than a few animals, or if you are going to run the experiments over a long period. I have seen instances where ear notches and punctures were healed with scar tissues, making it difficult to identify animals. It is also possible that some animals may engage in fighting, causing additional damage to earlobes. Furthermore, if there are multiple handlers, it is possible that some of the animals or cages may be misplaced. Ear tagging is preferred if your protocol or lab is not specifically insisting on notching or puncturing.
3. Tissue Collection
For collecting the tail piece, immobilize the animal in your hand (left hand if you are a rightie and vice-versa) comfortably. Sterilize the tip of the tail using 70% alcohol swabs and cut a 2-5mm long tail tip using a sharp mayo scissors (anesthesia is not required). Make sure that the tail tip falls to a clean petri-dish or towel. Pick up the tail piece using sterile forceps and put them in pre-labelled 1.5ml tubes. It is essential to sterilize the scissors and forceps between each sample to prevent cross-contamination.
4. DNA Extraction
For most genotyping experiments, we do not need high-quality DNA. Therefore, some crude and easier methods should work. Here is a simple procedure to get DNA from animal tissues.
- Take 1-2mm long tail piece / ear lobe in a 1.5mL tube
- Add 250µL of 50mM freshly prepared NaOH solution
- Make sure that the tissue is immersed in the solution
- Keep the tube at 95C water bath for 60 minutes
- Vortex the tube briefly
- Once the temperature comes down, add 50µL of HCL solution.
The DNA can be stored at 4ºC, if not running the experiments on the same day.
Heat and alkaline solution will break down the cellular components of tail and release DNA. This method is suitable if your PCR target is smaller than 300 base pairs (the technique can break down DNA too).
5. PCR and Genotyping
For polymerase chain reaction, it is advisable to standardize the experiment and reagents before attempting the genotyping. If possible, run a gradient PCR and identify the ideal temperature conditions. After the PCR, you can run the PCR products on agarose gel along with positive and negative samples and identify the positive animals.
Troubleshooting
No Bands on Gel
- PCR didn’t work. Common reasons are related to DNA quality and primers (did you forget to add the forward primer to all tubes?).
- Loading dye. If the loading dye concentration is too low, the DNA can escape from the wells.
Abnormal Bands
- It is possible to see primer pairs in many PCR experiments. They are going to have a size less than 50bp.
- Bigger DNA segments are possible if the animal model is having multiple targets for the set of primers. Verify the specificity using NCBI blast or similar and change the primers if needed.
Once you've verified that the animal has the correct genotype of your interest, you can proceed with your planned experiments.
Editor's Notes: Be sure to take advantage of BenchSci if your study involves the use of antibodies for protein expression or localization experiments.